← Back to Blog
How to Move a Dashcam From One Vehicle to Another

How to Move a Dashcam From One Vehicle to Another

🏆 Best Overall Pick

How to Move a Dashcam From One Vehicle to Another is one of the strongest starting points for Canadian dashcam buyers.

This is one of the top-rated dashcams for Canadian drivers. Prices change frequently — check the latest deal below.

Check today’s price before it changes: Check Latest Price

Check Latest Price

Choose by need

Category: dashcams • Type: guide • Updated: 2026-08-01

TL;DR: Moving a dashcam from one vehicle to another is straightforward if you carefully unplug the power source, detach the mount without damaging surfaces, and reinstall it properly in the new vehicle while considering Canadian weather and power options.

Top picks for dashcams
We may earn a commission if you buy through our links, at no extra cost to you.
Best Pick
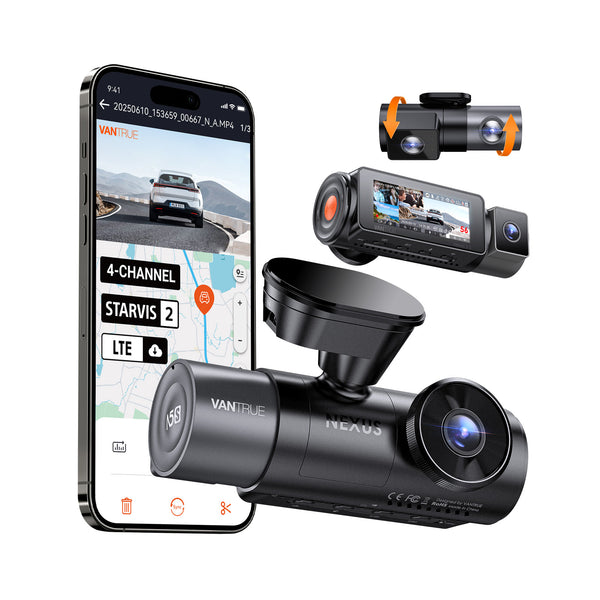
Nexus 5S
Nexus 5S
$399.99
4-Channel Full Coverage Four STARVIS 2 Sensors LTE Connectivity 10s Buffered Pre-Recording Motion Detection.
Best Value
Nexus 4 Pro S
Nexus 4 Pro S
$379.99
Triple STARVIS 2 Sensors 3-Channel 4K+1080P+2.5K Recording PlatePix™ License Plate Capture Optional LTE Live Monitoring
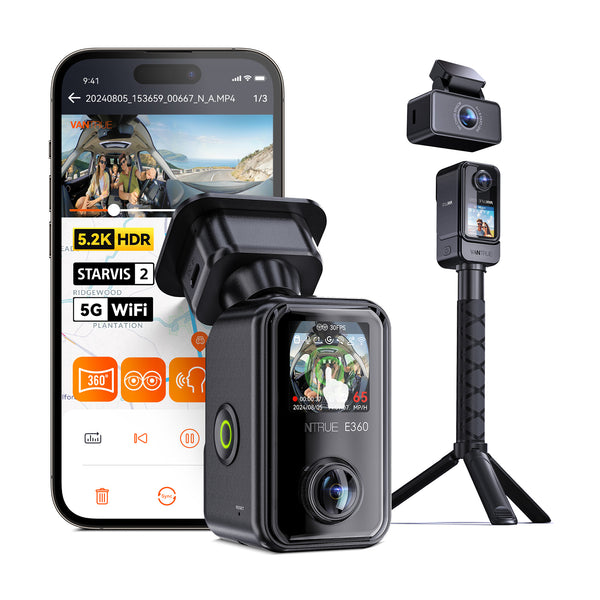
E360 ACE
E360 ACE
$299.99
Front and Cabin: 5.2K 360-degree panoramic recording, Sony STARVIS 2 IMX675 Sensor, Quad-Core CPU offers greater efficiency Multiple recording modes 8 Infrared LED lights improve night vision capability.

Quick overview

  • Unplug the dashcam power connector (usually USB or hardwired cable) carefully.
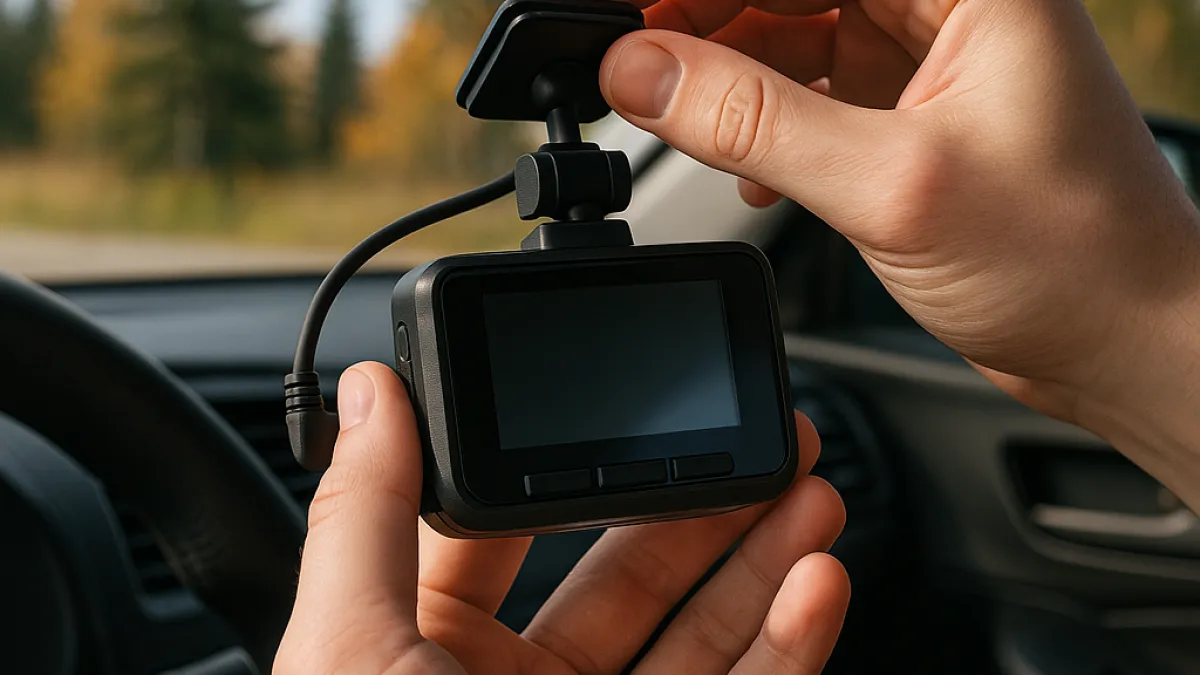
  • Remove the dashcam mount by gently detaching it from the windshield or dashboard.
  • Clean the mounting area and ensure a solid, flat surface in the new vehicle.
  • Reattach the mount and connect the power cable, securing cables away from airbags and controls.
  • Test the dashcam to confirm recording and parking mode functions before hitting the road.

What to look for in Canada

Canadian winters and summers pose unique challenges for dashcams, especially when moving devices between vehicles. Cold temperatures can affect dashcam battery performance and cause sticky adhesives to lose their grip over time. When moving your dashcam:

  • Cold starts: Dashcams without large internal batteries rely on vehicle power to start recording. Plugging in your dashcam only when the car is on may help protect its battery life in frigid temperatures.
  • Heat tolerance: If your dashcam was mounted in a vehicle exposed to hot sun inside the windshield, ensure the mount adhesive or suction cup is still secure before reinstalling. Extreme cold followed by heat can reduce adhesive effectiveness.
  • Parking mode considerations: A hardwire kit or a dedicated 12V power source is recommended if you want your dashcam to record while parked. Removing and reinstalling the hardwire setup should be done carefully to avoid damaging vehicle wiring or fuses.
  • Installation notes: Different vehicles may vary in windshield angle and glass tint, which affects dashcam mount adhesion and video clarity. Always clean the windshield area thoroughly before reattaching mounts, and test the camera angle.

Practical tips for moving a dashcam

To move your dashcam quickly and safely, here are some tips:

  • Unplug power strategically: For USB-powered dashcams, unplugging the USB cable from your vehicle’s power adapter is usually enough. For hardwired units, take caution—consider professional help if you’re unsure how to disconnect the wires safely.
  • Preserve mount adhesive: When removing adhesive mounts, slowly peel them off without pulling at sharp angles. If the adhesive weakens, purchase adhesive replacement pads commonly available from dashcam accessory suppliers in Canada.
  • Use suction mounts if preferred: Some dashcams come with suction cup mounts which can be easier to transfer between vehicles, but they may require frequent adjustment and cleaning to maintain stickiness in Canadian climates.
  • Organize cables: Keep cables bundled and avoid pinching them in doors or hinges. Use cable clips to route wires neatly and safely in your new vehicle.
  • Test before driving: After installation, activate your dashcam and ensure it is properly positioned, recording clearly, and that features like GPS or parking mode are operating as expected.
Does this work in winter?

Yes, you can move your dashcam in winter, but be mindful of brittle cables and fragile adhesive mounts. Take extra time to warm your vehicle before installation to prevent adhesive failure, and avoid disconnecting hardwire kits in freezing conditions without proper tools.

Do I need a hardwire kit?

A hardwire kit is recommended if you want your dashcam to operate in parking mode by drawing power directly from your vehicle’s fuse box. For simple drive-only recording, plugging into a USB port or 12V adapter is sufficient and easier to transfer between vehicles.

Need a faster answer?
Browse the best dashcams, budget picks, or compare pages to narrow your choice.
Top picks for dashcams
We may earn a commission if you buy through our links, at no extra cost to you.
Best Pick
Nexus 5S
Nexus 5S
$399.99
4-Channel Full Coverage Four STARVIS 2 Sensors LTE Connectivity 10s Buffered Pre-Recording Motion Detection.
Best Value
Nexus 4 Pro S
Nexus 4 Pro S
$379.99
Triple STARVIS 2 Sensors 3-Channel 4K+1080P+2.5K Recording PlatePix™ License Plate Capture Optional LTE Live Monitoring
E360 ACE
E360 ACE
$299.99
Front and Cabin: 5.2K 360-degree panoramic recording, Sony STARVIS 2 IMX675 Sensor, Quad-Core CPU offers greater efficiency Multiple recording modes 8 Infrared LED lights improve night vision capability.

Related Articles

Recommended next pages

Ready to compare prices?

Before you choose, check current availability and pricing. Dashcam prices can change often, especially during sales.

Check Latest Price
Ready to buy?Check Latest Price